What you will need for this tutorial
- Sketch of your stamp
-Lino cutters
- Lino block or the
cheaper alternative a w
hite eraser! The big ones you can buy at dollar stores works just fine.
-Lino or woodcutters
-Stanley knife
- Tracing paper
- Pencil

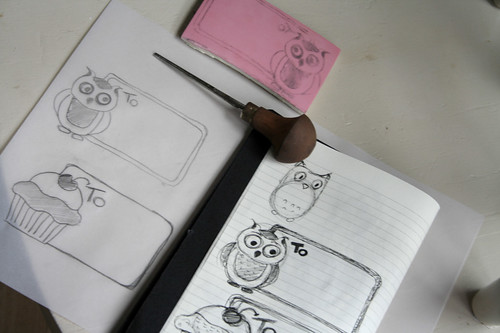
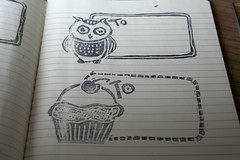
1. Step one is sketching your stamp idea.
2. Put the tracing paper over your drawing and trace it with PENCIL, this is important for the next step.

3. Put the image (pencilled side down) on the lino block/eraser. This way the image will appear as a mirror image, witch is the way a stamp is build. Especially with letters involved, this way the word will apear the right way when you're stamping your image.
4. Just rub the paper and you're see that the pencil will stick to your lino block/eraser.
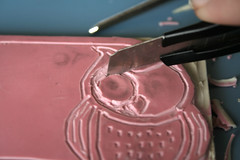
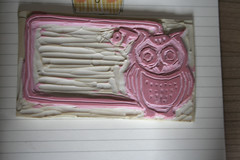
5. Now you can start cutting your stamp with the lino cutters, be sure you remember wich pieces you want to be black ( the pieces you leave on the block)
6. A tip when you're working with a lot of curves and circles use a stanley knife and trace your lines first it'll help you to cut around the edges smoother.
7. Now your stamp is ready for a test-drive.
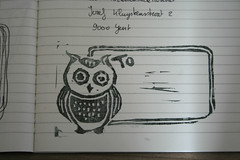
8. As you can see after testing the stamp there's some leftover ink on the center where your adress is suposed to be written, this is why a test is important you can always take away more. But you can never put pieces back!

9. Test two I am using a clear acrylic plate you can get these in craft stores this way i can add more presure without risking to move the stamp.
10. Voila! now you can save on expensive envelopes, make your own designs, send unique mail and just have a good time making stamps!
I hope you enjoyed this tutorial and I'm hoping to see some results by you amazing crafters!